Showing posts with label home. Show all posts

Wednesday, June 13, 2012

Review on Garnier Nutrisse hair color


What caught my eye aside from the good brand name is the fresh and fruity fragrance and that is says it covers even grey hair ( not that I have one, but it means that the color is intense and true to its name.
The inside of the packaging. Imeediately after opening you can smell the fruity floral smell of the conditioner! love the scent!

My hair before I colored it

  After Pics


So I colored the roots about 3 inches first because of the re growth then after 15 minutes colored the rest of the hair.


I was not able to shoot it upclose but you can see in this photo that my hair is lighter (not black, which is my real hair color )

Overall review is 7. I dont know if I used it properly, although I did follow the instructions to the letter.
But I have used Loreal before and the color I got was true to the swatch in the packaging. This haircolor gave my hair a tint and if im out in the sun, I can see that its shiny and has a brownish red tint.

The conditioner that came with it on the other hand is 9 for me. It made my hair look like I just got out of a salon. It  smooth out the tangles and made the texture of my hair soft.

Verdict? I will reccomend it if you want a natural tint and great hair. If you want a haircolor that is more dramatic looking, opt for Loreal or Revlon, which I have tried before. Their conditioners is just ok. What I dont like about it was the smell. It stayed on for a couple of days, unlike GARNIER.

My hair didnt smell like it was colored--my hisband didnt even notice it which he usually does because of the smell.lol.

Ok, till my next post ladies!!


Highlighting Technique-Ala Kim Kardashian

Last post I shared with you how you can shade your nose bridge to create depth and  make it look longer and higher. Now, Im showing you some highlightinh techniques that can brighten your face and make your facial shape defined.

Here I used my Clinique airbrush concealer ( it reflects light so it can be used as a highlighter ) but you can use any cream/liquid highlighter you have.

You apply this after foundation and concealing other imperfections like dark circles or pimple marks.


Blend with foundation brush,damp sponge or your hands. Dont rub too hard, just pat/blend lightly.

Afterwards, set it with a loose powder. Im using MAC translucent powder.


 Ignore my blood shut eye (hahaha) I used my Iphone for all the photos. Can you see that the bridge of my nose, brow bone and cheekbones is a bit lighter?

I just want to take photos as fast as possible since I have to go out that day but here you can already see some points of my face that sort of reflects light. This gives your face a 3 dimensional effect.

Kim Kardashian loves this type of technique, but of course, I did not make it as obvious as her makeup artist does it because Im not really going on a photo shoot or being chase by papparazzi.lol

Just want to show you that this simple technique makes a lot of difference esp if you want to look good in photos.

Next post will show you some techniques on how to groom your brows!!

Hope you like this post!!

Monday, June 11, 2012

Want a slimmer looking nose w/o surgery?Read on!


You see this technique on celebrities and maybe some of you are already doing this. But for those that are afraid to do it for fear of looking "fake" - I will show you how this simple trick can make your photos look great!

Flash photography has the tendecy to flatten the face because the light is coming from the front, towards your face. So to create an illusion of a long nose or create depth, you need to highlight and contour  some areas. Today, lets just focus on the NOSE.

So maybe this is something you dont do everyday..say, save it for a picture day or a special event.

This trick is called contouring and you can define the shape of your nose bridge by using a matte taupe
powder. Brown is acceptable but it can look muddy.  Reddish brown can also look fake, so I use a cool brown for shading.

Start at the bottom end of your brows and lightly apply the powder towards the bridge of your nose, then going down. Sort of an upside down J.

We dont want a line, so blend the outer edges with your hands or a firm  brush. Then just glide it along the tip of your nose, sort of a U shade.

Apply a light powder, or if you have a highlighting powder, which is even better,  at the center of the bridge, then viola!

My picture below has no contouring.


Thursday, May 31, 2012

Makeup Look of the day!


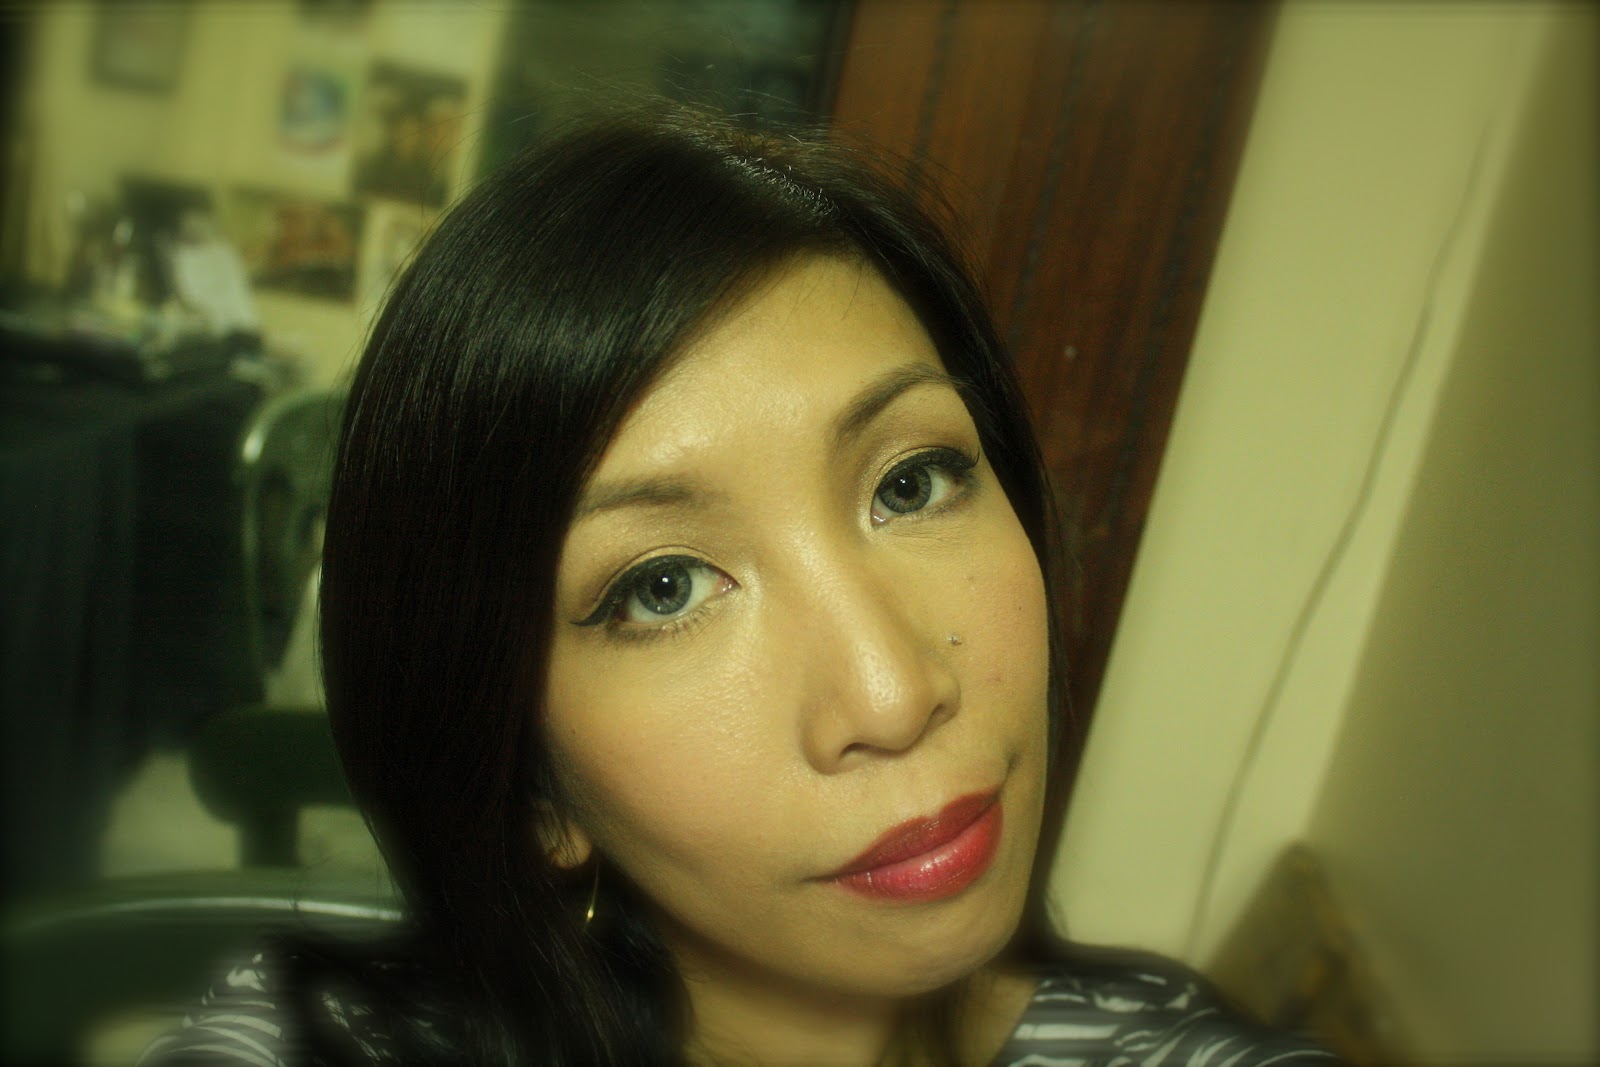
I dyed my hair but its not really showing in the photo (used my Iphone for all the photos)
I used Garnier and I will make a review on it next time!


Makeup used:
Makeup forever Duo Mat foundation-beige
Mac Translucent powder
Mac Pink Swoon blush
Physicians Formula palette-Sheer pink as base and Pink brown matte at crease
OCC Lip tar, grandma and MAC coral lip gloss
Mascarra from MAC with false lashes (generic) from Landmark
Loreal liquid liner in black
Lip liner-Spice from Mac
Prestige brow color


 In this photo-I thickened the liquid liner. I love how this makes my eyes look really big!